Support Center


Clinical Evidence

Ultrasound-guided central venous catheter placement: a structured review and recommendations for clinical practice
Although placement of a central venous catheter (CVC) is a routine procedure in intensive care medicine and anesthesiology, acute severe complications (such as arterial puncture or cannulation, hematoma, hemothorax, or pneumothorax) occur in a relevant proportion of patients. The use of ultrasound (US) has been proposed to reduce the number of CVC complications and to increase the safety and quality of CVC placement.
Read More


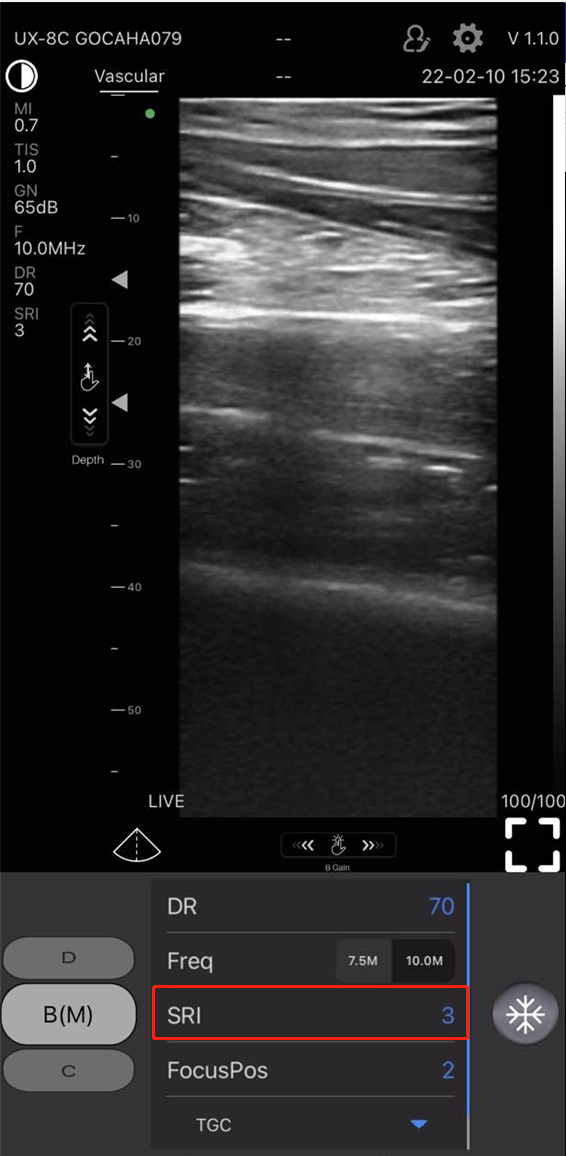
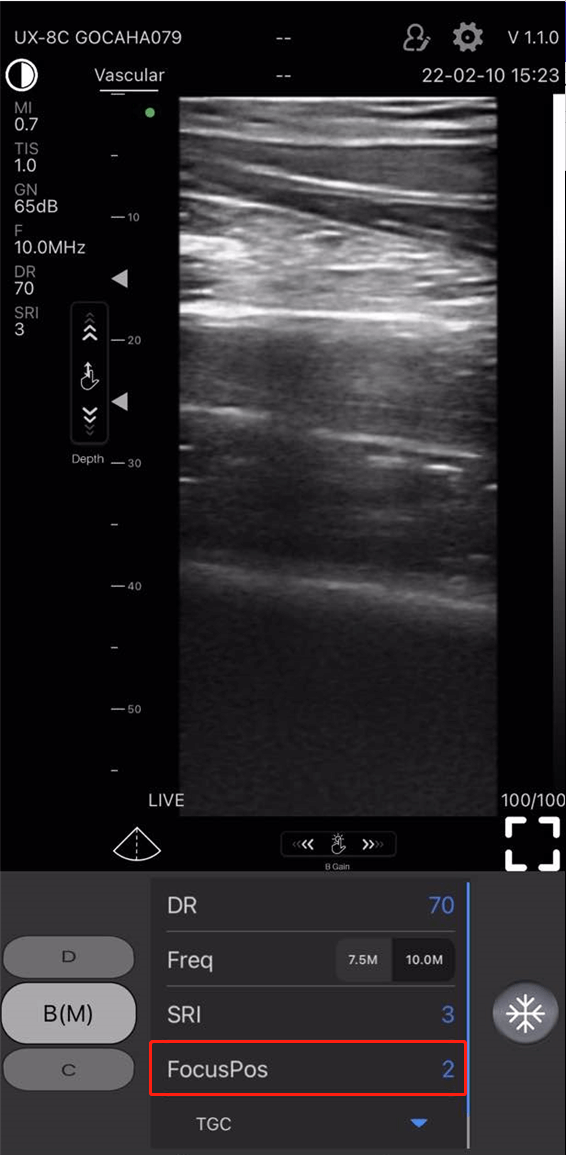
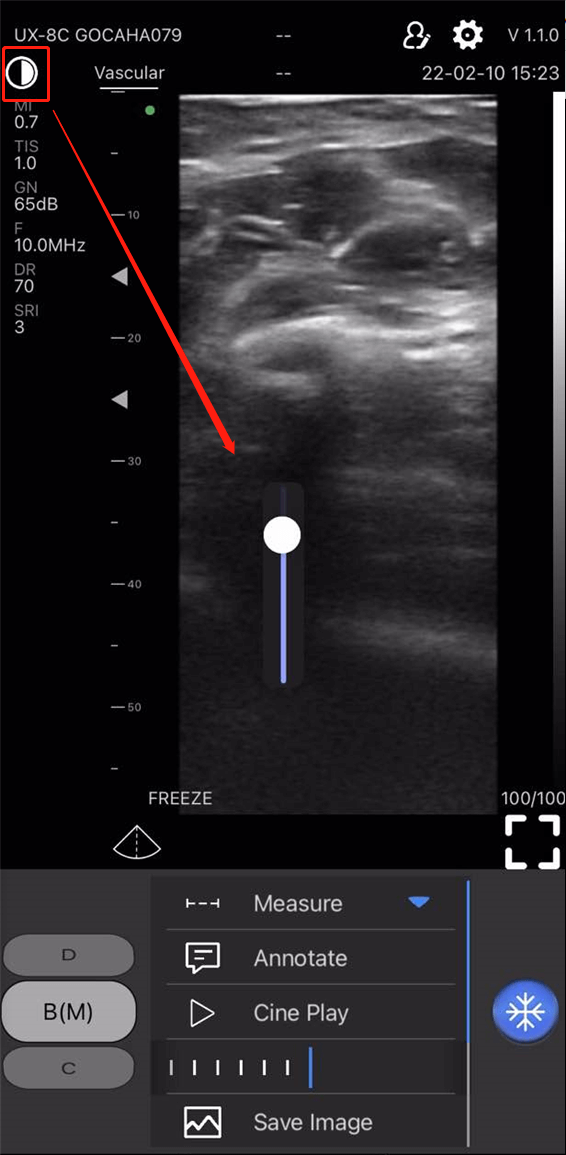
For dual-head ultrasound(CProbe-CL) & linear-head ultrasound (UProbe-L).
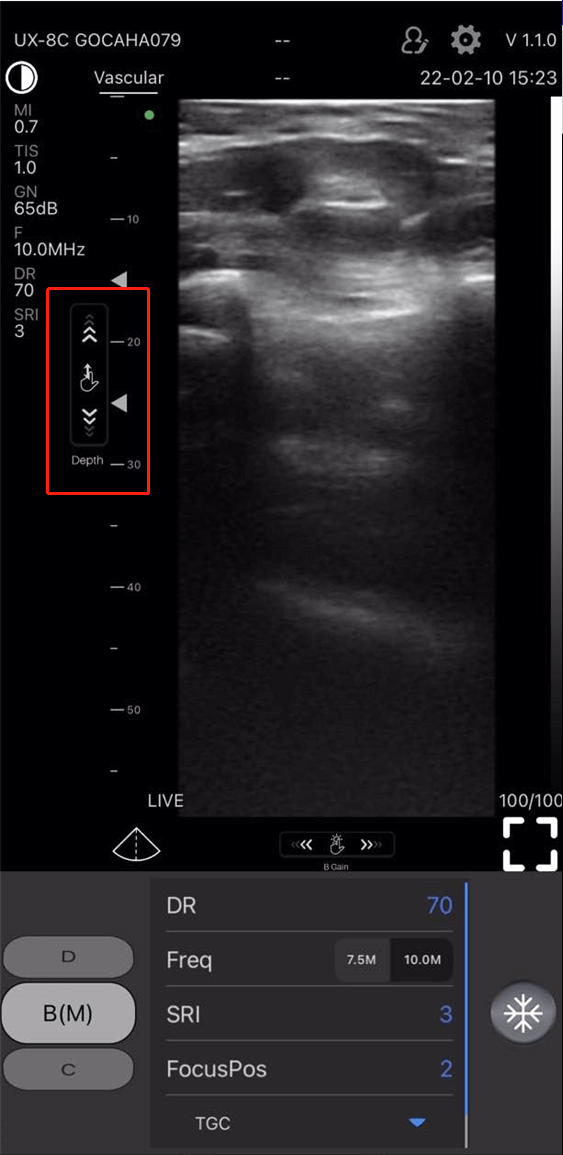
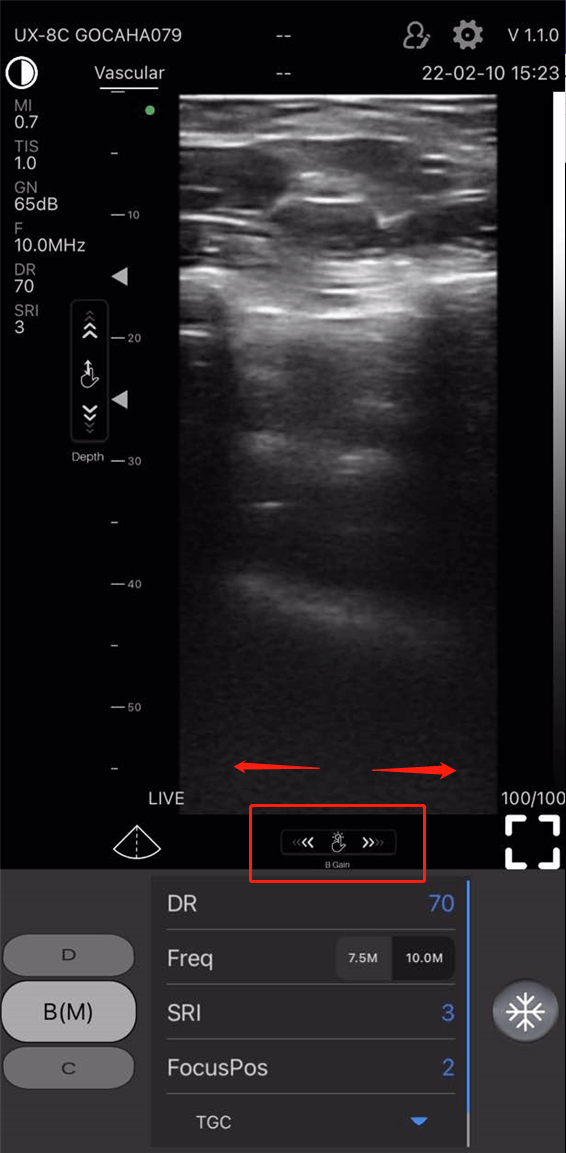
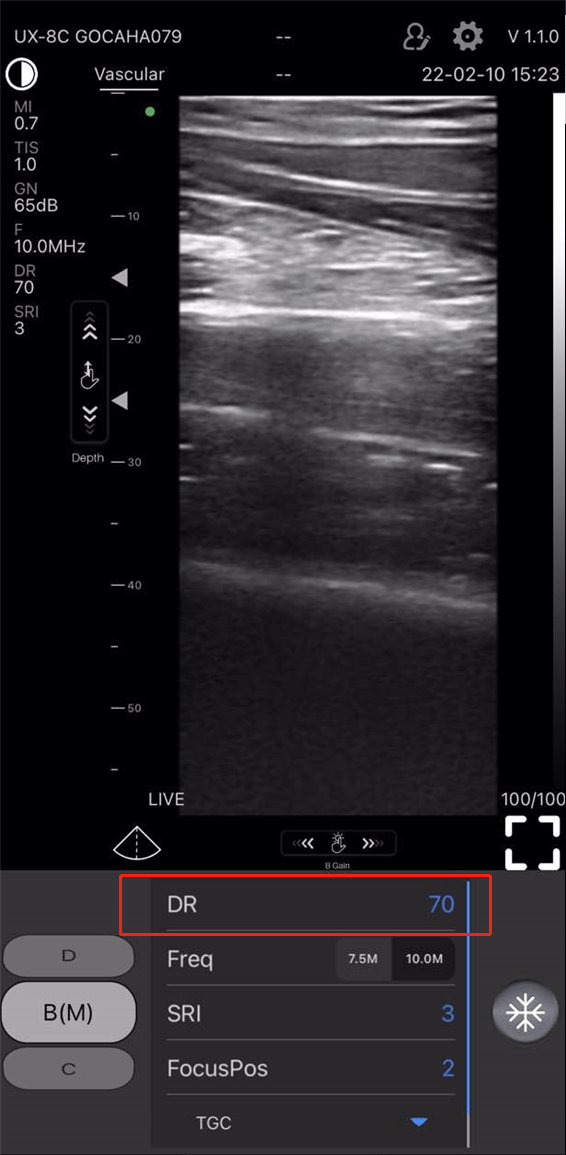
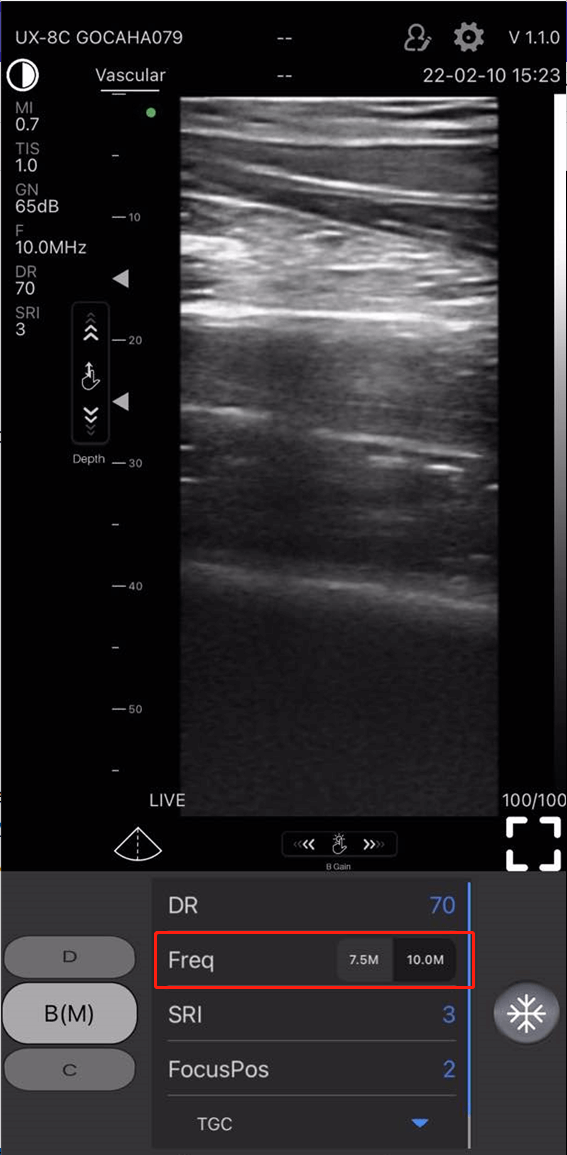
Quick Start Guide
1. Charge the scanner to ensure battery is full.
2. Press the center button to power on your probe, a blue light will appear on the button and the battery indicator will light up in blue.
3. Enable your phone's (or tablet's) WiFi.
4. Among your WLAN list, select the Wifi ID with the same last several characters/numbers as the SN on the back of the probe.
5. Input the connection password (on the back of the probe, the SN with the lower case is the password, for example, if the SN is WXPCAKK020, the password is wxpcakk020).
6. Once you successfully connect the probe's wifi to your device, you can launch and open the App.


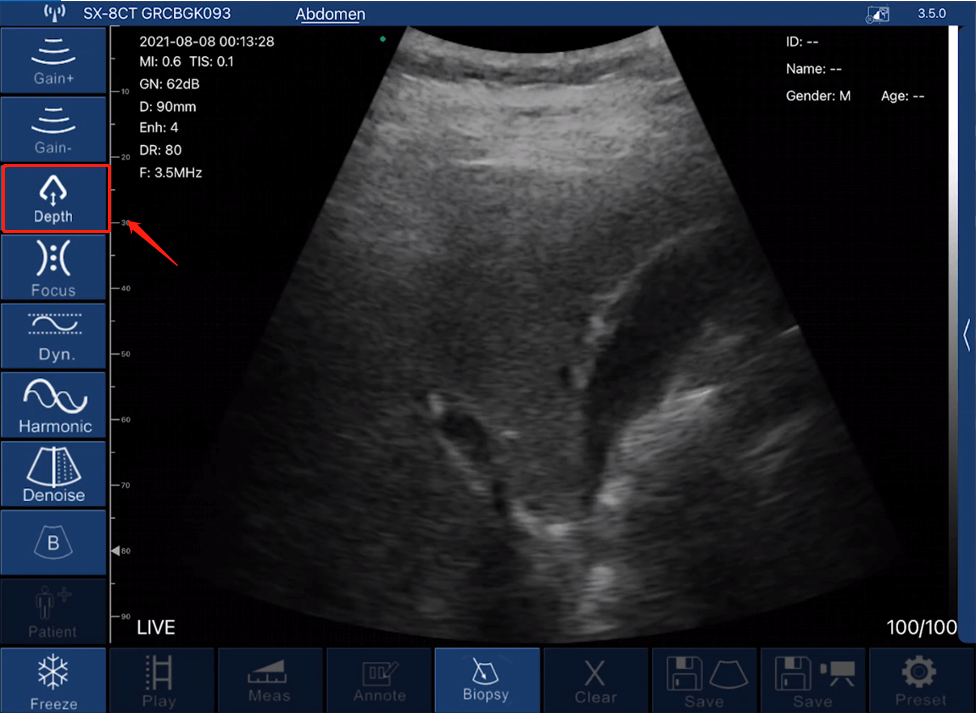

For dual-head ultrasound(CProbe-CL) & linear-head ultrasound (UProbe-L).
Quick Start Guide
1. Charge the scanner to ensure battery is full.
2. Press the center button to power on your probe, a blue light will appear on the button and the battery indicator will light up in blue.
3. Enable your phone's (or tablet's) WiFi.
4. Among your WLAN list, select the Wifi ID with the same last several characters/numbers as the SN on the back of the probe.
5. Input the connection password (on the back of the probe, the SN with the lower case is the password, for example, if the SN is WXPCAKK020, the password is wxpcakk020).
6. Once you successfully connect the probe's wifi to your device, you can launch and open the App.